How to Enable Caching in LiteSpeed Cache?

> Please log in to your WordPress Dashboard

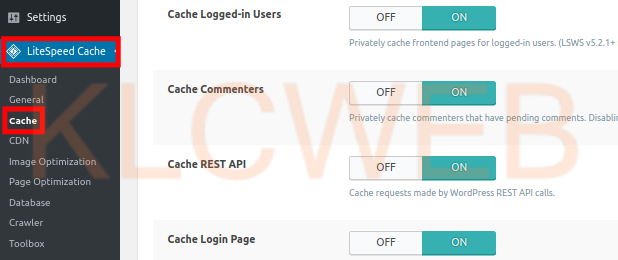
> Please click LiteSpeed Cache then Cache from your navigation menu

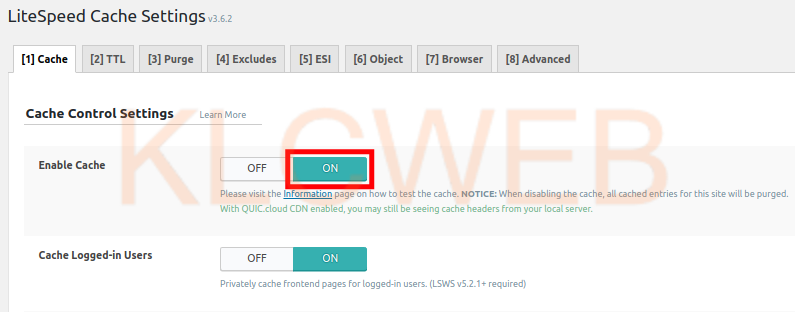
> Please turn the Enable Cache to ON. This will cause the plugin to begin caching your site content

> Please scroll down and choose your settings as needed

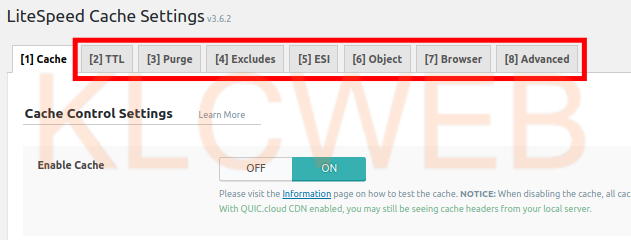
> Please click the Save Changes button after choosing your settings.

  • 0 Users Found This Useful
Was this answer helpful?

Related Articles

How to Install and Setup LiteSpeed Cache?

> Please Install and activate the LiteSpeed Cache plugin by LiteSpeed Technologies > After...

How to Purge All Cache in LightSpeed Cache?

> Please login to your WordPress Dashboard > Please click on the LiteSpeed Cache then...

How to setup LiteSpeed Cache Crawler?

> Plesae  Login to your WordPress Dashboard. > Please click the LiteSpeed Cache then...

WordPress Optimization Tools in LiteSpeed : CDN Tools

> Please log in to your WordPress admin panel > Please go to the LiteSpeed Cache > CDN...

WordPress Optimization Tools in LiteSpeed : Image Optimization

> Please log in to your WordPress admin panel > Please click on the LiteSpeed Cache >...

Powered by WHMCompleteSolution